Hey there,
I’ve always be a choco-holic. This is a fact. Dark, milk it doesn’t matter I will devour it. These days however as my palette has been growing so has my love for dark. I prefer a fine organic dark chocolate. This new love can be expensive but it’s one of those things you have to indulge in. To stay on topic I’ve always been intimidated by truffles. Who isn’t? I decided to start with something a little out of the ordinary Spicy chili and ceylon cinnamon flavored truffles. I found a wonderful recipe from the bonjourgourmet who’s truffles are gorgeous. I found the recipe extremely easy to follow and they turned out! Which is a relief because I was afraid I was going to have to eat a whole pan of ganache to myself. To describe what these taste like I would have to say classic cinnamon hearts. Delicious! The best part about this recipe is it’s versatile. Swap out the ceylon cinnamon and chilis for caramel, coconut, cashews, dried fruit. anything! Sky’s the limit. They’re also vegan but no one would ever know.
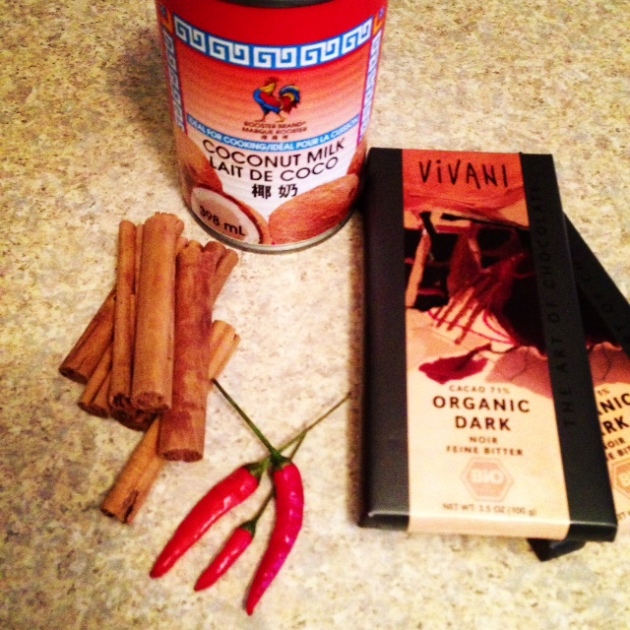
These are the ingredients I used. I actually used 4 of the chocolate bars and only two of the peppers.
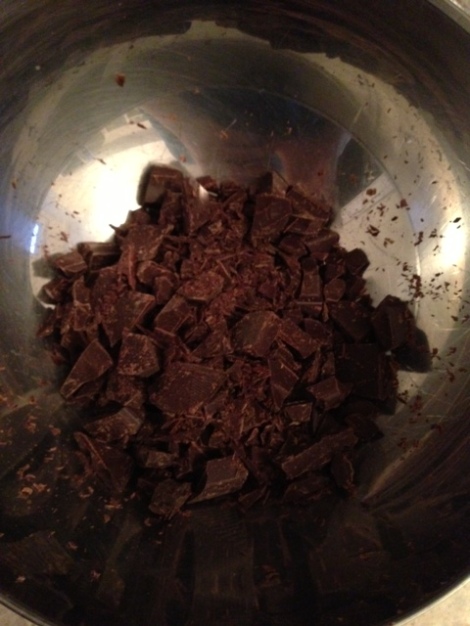
Chopped dark chocolate about to have the steeped coconut milk poured all over it.
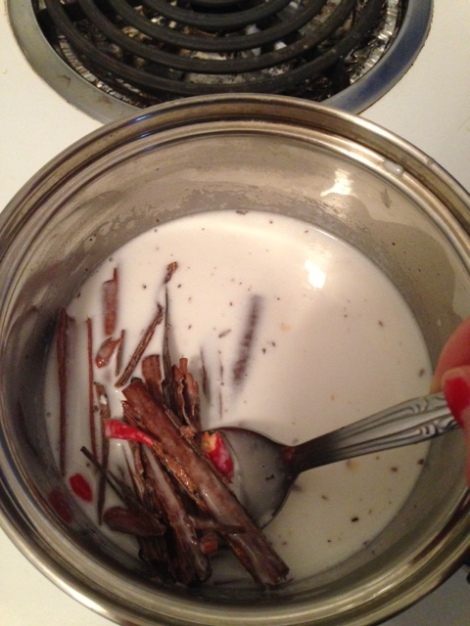
Coconut milk simmering away with Ceylon cinnamon and chilis
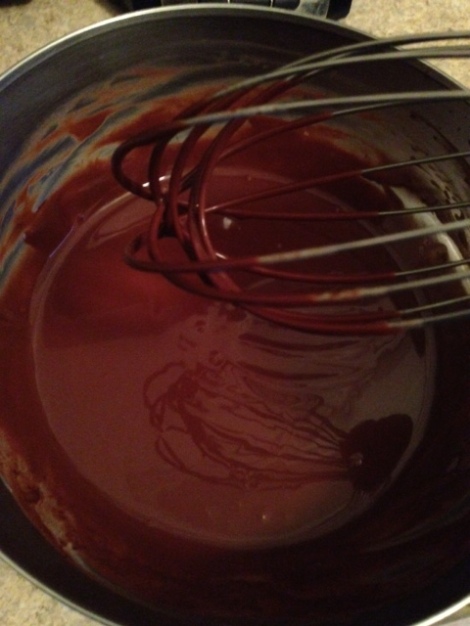
After you pour the strained coconut milk over the chopped dark chocolate you whisk away until it’s smooth. Pour into a shallow container and chill. Voila ganache. AMAZING ganache.
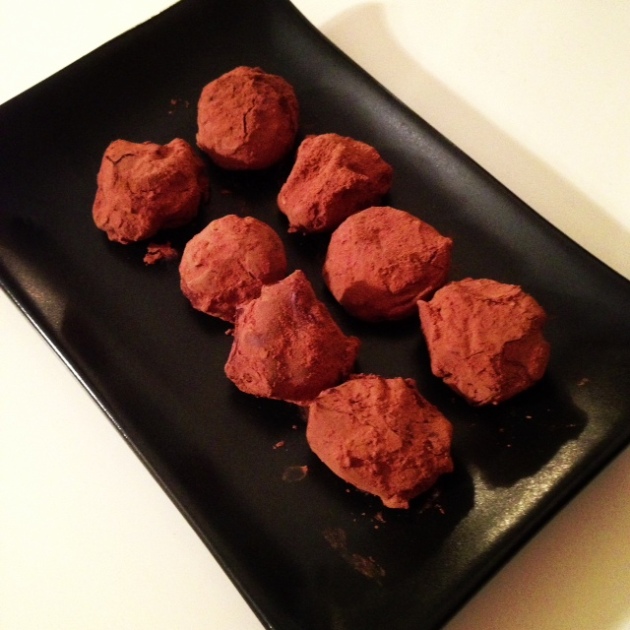
Finished truffles!
Bonjour gourmet’s Vegan Chocolate chili coconut milk truffles:
(Vegan) Chocolate Chile Coconut Milk Truffles
Inspired by Love and Lemons, Green Kitchen Stories and Smitten Kitchen
Chiles de arbol can be found in the Latin-American section of grocery stores, and are also available here. Their heat may vary, and the heat seems to increase as the finished ganache and truffles sit. I used three 2 1/2″ long peppers, and the spiciness is quite prominent; use only two small ones if you want less heat. (Lacking chiles de arbol, you could try substituting red pepper flakes, though the amount may take some experimentation. I would start with 1/2 teaspoon and work up from there.)
To make these officially vegan, you’ll need to use a bittersweet chocolate that’s made with vegan sweetener. Do take care to use a chocolate with a 70% cacao mass, as a lower amount will likely result in overly-soft ganache, whereas darker chocolate could cause the ganache to “break” as you whisk it. I’m partial to Scharffen Berger, but Guittard and Valrhona are also excellent brands. Velvety dutch-processed cocoa powder looks the prettiest and has a milder flavor than the natural stuff, but either will work for coating the truffles. As I mentioned above, you can skip the pesky chocolate coating altogether and just roll the truffles in cocoa powder, nuts, or shredded coconut shortly before serving.
The amount here makes, I feel, enough truffles to make truffle-making worth your while, but not so many as to be overwhelming. If having a touch of leftover coconut milk drives you crazy, or if you want to dive into truffle-making head-first, try the following amounts: 1 can (13.5 ounces) coconut milk, 9 ounces chopped chocolate, 3 chiles, 4 cinnamon sticks, a scant 1/4 teaspoon of salt, and 1/4 cup coconut oil. This will yield about 45 truffles.
All ounce measurements are by weight.
Makes about thirty 1″ truffles
Spiced Coconut Milk ganache:
1 cup plus 2 tablespoons (9 ounces) full-fat coconut milk
2 or 3 (2-3″ long) chiles de arbol, crumbled
3 (3″ long) cinnamon sticks (preferably ceylon), broken into a few pieces
a big pinch of fine sea or kosher salt (about 1/8 teaspoon)
6 ounces bittersweet chocolate (70% cacao mass), finely chopped (about 1 1/4 cups)
3 tablespoons softened extra-virgin coconut oil
Coating:
4 ounces bittersweet chocolate (70% cacao mass), finely chopped (about 1 cup)
1/2 cup cocoa powder (preferably dutch-processed)
Make the ganache:
In a small saucepan, combine the coconut milk, chiles, cinnamon sticks and salt. Warm gently over a medium flame, swirling frequently, until the mixture is steamy-hot, with small bubbles around the edge of the pan. Cover and let steep 15-20 minutes.
Meanwhile, place the 6 ounces of chopped chocolate and coconut oil in a medium, heat-proof bowl. Have a fine-mesh sieve on stand-by.
When the coconut milk has steeped, rewarm it until steamy hot again, then strain it over the chocolate, pressing on the chiles and cinnamon to extract all the good stuff. Let the mixture sit for 1 minute, then gently whisk the mixture until completely smooth. Pour the ganache into a shallow pan, cover, and chill until firm, at least 2 hours, or up to a few days.
Shape the truffles:
Use a tiny (#100) spring loaded ice cream scoop to form scant 1″ balls of ganache, placing the balls on a small, rimmed baking sheet lined with parchment (for easy clean-up). Alternately, scrape the ganache into a piping bag fitted with a wide, plain tip and pipe into tablespoon-sized mounds, or use a large plastic baggie with a corner cut off to do the same.
Let the ganache balls chill until firm, 30-60 minutes.
Remove the ganache balls and, working quickly, roll each one between your palms to make a round-ish ball. You can also squeeze the balls into shape with your fingers. For rounder truffles, repeat the chilling and rolling process once more. Chill the balls again until firm, 30-60 minutes. If you want to coat the truffles in chocolate, proceed to the next step. Otherwise, roll the balls in cocoa powder, chopped toasted nuts, or toasted coconut flakes, and serve them within a couple of hours.
Coat the truffles in chocolate:
Place the 4 ounces of chocolate in a small metal bowl. Make sure the bowl and anything that touches the chocolate is bone-dry, as any tiny drop of water could cause the chocolate to seize up into impossible globules. Place the bowl over a pan filled with 2 inches of steaming (not simmering) water. Stir the chocolate occasionally until it has all melted. Remove the bowl from the pot, set it on a towel, and let the chocolate sit, stirring it occasionally, until it is body-temperature. If done properly, this will temper the chocolate (i.e. put it back into a stable emulsion) but it isn’t a huge deal here, as the truffles will get coated in cocoa, which will hide any “blooming” (i.e. the separating out of cocoa solids). Note: if the chocolate gets too cold and starts setting up before you want it to, set it back over the pot of barely steaming water, stirring, until it has melted again.
Sift the cocoa powder into a shallow bowl.
Set up a station like so (assuming you are right-handed): bowl of melted chocolate with a small spatula or spoon sitting in it on your left, cocoa powder in the middle, and sheet pan holding chilled ganache balls on your right. Once you get chocolate on your hands, you won’t want to touch anything. (You can wear latex gloves for this, if you like, though I go commando when making a small batch like this.)
Smear about 1 tablespoon of chocolate on the palm of your left hand. Pick up a ganache ball and quickly roll it around in the chocolate, coating it completely. Immediately drop the coated ball into the bowl of cocoa powder and toss it around to coat it. Repeat this with as many balls as will fit in the cocoa bowl, then remove the balls to a plate (I just use the same sheet pan that the chilled balls are on). Keep this up until all the balls are coated in chocolate and cocoa.
Congratulations, you made truffles! Store these babies at cool room temperature. They should keep for at least a week or two, and possibly for a month or more.
I hope you found this recipe easy to execute and easy to eat 🙂
Enjoy,
Jessica

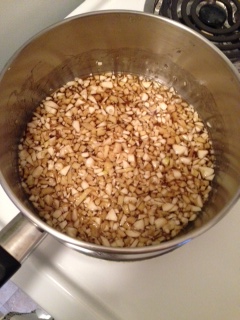 Finely mince garlic and ginger root. In a medium sized pot simmer maple syrup, rice wine vinegar and garlic and ginger for 15 minutes on low to medium heat.


